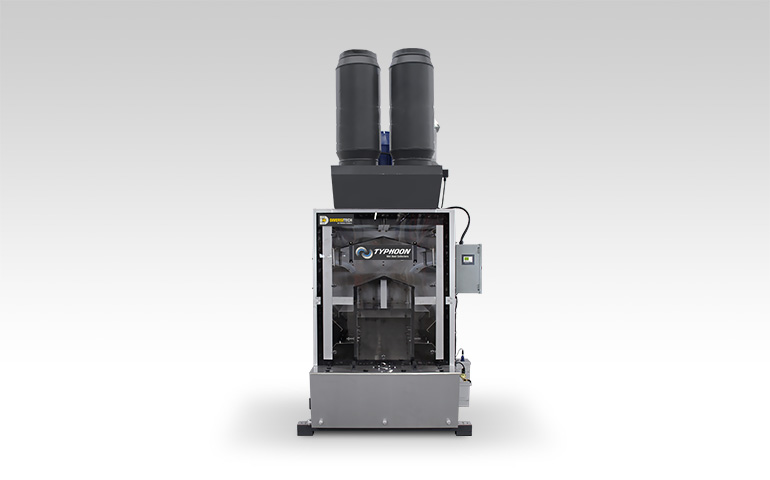
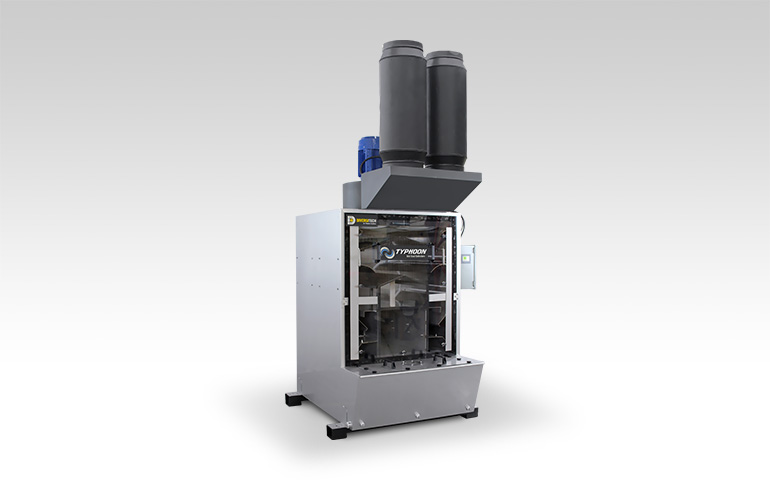
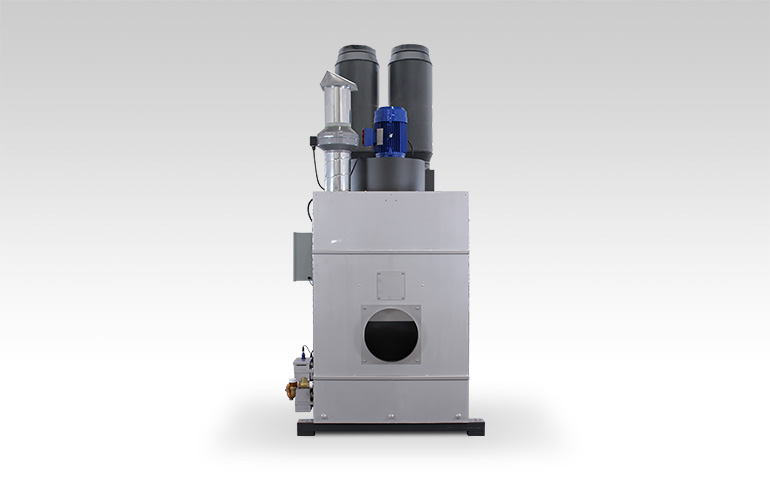
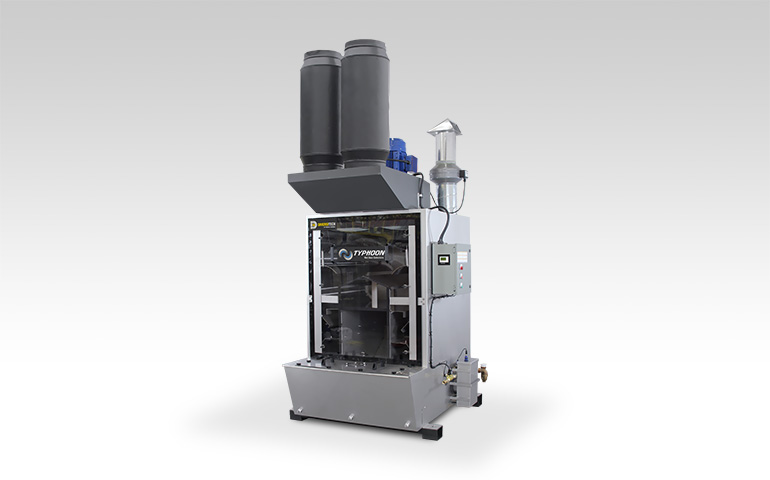
Typhoon WX-5000 Wet Dust Collector Help & Support
Learn how to get the most out of your Typhoon WX-5000 Wet Dust Collector and troubleshoot common problems.
See our help topics and support videos below, and download the Typhoon WX-5000 Wet Dust Collector product guide and owner's manual.
How to..
Before You Begin
Designate a location for the unit near the operator that is sufficiently close to a grounded power source.
Unpacking Unit
- Inspect carton for any possible damage during transit and remove packing material.
- Do not tip or invert while handling.
- Locate item serial number, model and electrical ratings on the nameplate. Write down this information on the provided Maintenance Record found in your owner’s manual.
Installation
- Connect water feed as indicated.
NOTE: Diversitech recommends that the overflow drain be connected to a suitable and approved collection/drainage. - Connect ducts to air inlet.
- Use smooth bore ducting as flexible ducts can have up to three times more airflow resistance.
- Inlet ducts should be full diameter, and changes in section or size should be gradual.
- The scrubber is designed to accommodate an auxiliary vent fan that operates when the scrubber is not in operation. Its function is to vent the air and gases from the scrubber.
- The fan should exhaust outdoors.
- If the fan exhausts indoors, check with local regulations and test the exhaust air as required.
- Ensure that the backdraft damper is installed on the vent fan.
- The scrubbers are all designed to be operated with exhaust silencers.
NOTE: The silencer(s) are shipped separately and should be installed on the exhaust collars of the blower housing using self-tapping screws - Connect power as outlined in APPENDIX 1: Electrical Diagram [230/460/575v] 3-Phase Power in your owner’s manual.
- Ensure that motor rotation is clockwise when looking top-down from unit.
- Instructions to install 15 HP Blower (Lift truck required to hoist motor):
- Unbolt and remove square panel, unbolt and remove blower plate.
- Inside the blower housing, fasten 2 bolts attaching the scroll to the wet collector.
- Using the hardware, fasten the cone to the scroll while aligning the cone in the center of the Blower Wheel.
- Wire the motor to electrical panel using the existing wiring.
Before you use your unit, you’ll want to perform a function test to verify it’s in working order.
- Confirm correct Voltage and Amperes.
- Turn the power switch to “On” for a few seconds and check that the motor rotation is correct.
IMPORTANT: Look down the back of the motor and check that the motor fan turns in direction of arrow. - Listen closely to the motor and suction sound of the unit. Are they within the expected noise limits?
- Place hand on top of the unit and feel for any unexpected vibration. Place your hand in front of the intake hood/surface to confirm the expected levels of suction.
Depending on application, your Typhoon Wet Dust Collector may require daily maintenance. When you see several inches of dust build up inside the wet collector water tank, remove the material as soon as possible.
Cleaning Instructions
- Open the knobs or latches on the two front panels of the wet dust collector.
- Inspect the mist eliminator filters inside the unit for holes or dust accumulation, replace the media if torn or dirty.
- The filter frame must be replaced so that the cage side is facing upwards to prevent the media from being sucked out of the frame.
- Inspect the HEPA after filters and replace if the filters are saturated.
- Clean the inside of the unit completely from top to bottom, using wire brush or scraper and a pressure washer to remove all accumulated sludge and debris.
TIP: Remove the inlet duct to clean the inside of the back of the collector and inspect the inlet ductwork for dust accumulation. - Drain the dirty water using the optional WV-55 Sludge-Drain the dirty water using the optional WV Sludge Vacuum to separate the metal fines from the water, remove sludge on the bottom of the tank and skim the residual material floating on the water surfaceacuum to separate the metal fines from the water, remove sludge on the bottom of the tank and skim the residual material floating on the water surface.
IMPORTANT:- All debris must be stored in a ventilated metal drum to prevent hydrogen gas buildup.
- If the collector has the optional strainer system, remove the basket and dump the accumulated dust, clean out the basket and replace it. (Refer to Appendix 5 in owner’s manual.)
- Dust needs to be disposed of according to local regulations.
Ultra-Sound Cleaning
- Remove the lid of the ultrasound sensor box.
- Clean the sensor carefully removing any dust or debris.
- Clean the dust and debris from the bottom of the sensor box.
Reset the Current Level (Ultrasonic Sensor)
View the video below for details instructions:
Adjusting Water Level
To properly adjust water levels, the motor must first be turned off:
- Adjust stop SP to desired level.
- Initiate the motor to adjust the running SP.
Troubleshooting
- Confirm the correct voltage is being supplied into the panel.
- If you've confirmed your voltage and the problem persists, contact Diversitech support for assistance.
- Perform routine cleaning of unit.
- If you've performed routing cleaning and the problem persists, Contact Diversitech support for assistance.
- Check prefilters and ducts between table and scrubber. Clean if necessary.
- Check scrubber panel filter. Clean if necessary.
- If you've cleaned all prefilters and ducts, along with the scrubber and scrubber panel filter but the problem persists, Contact Diversitech support for assistance.
If the operating level of your motor is too high or too low, try the following:
- If too high, empty excess water in unit until depth reaches indicated level.
- If too low, check input water and probes. Fill to indicated level if necessary.


