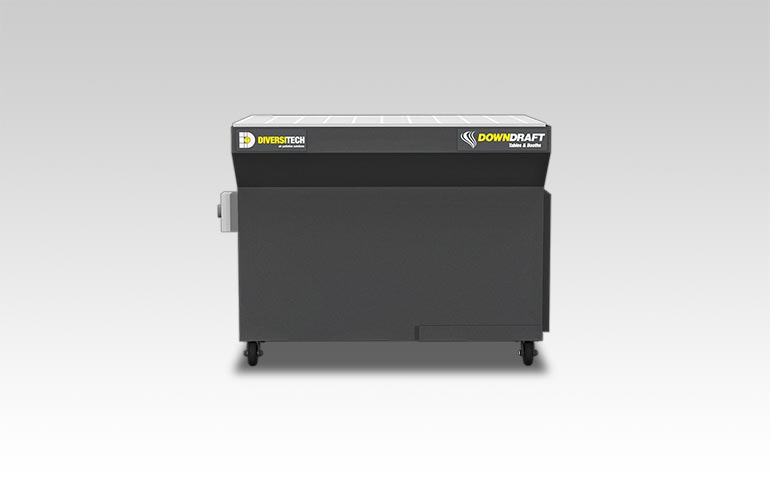
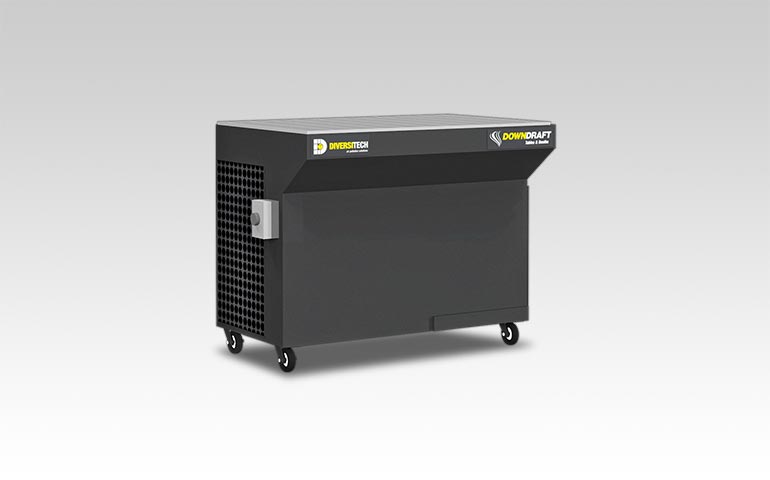
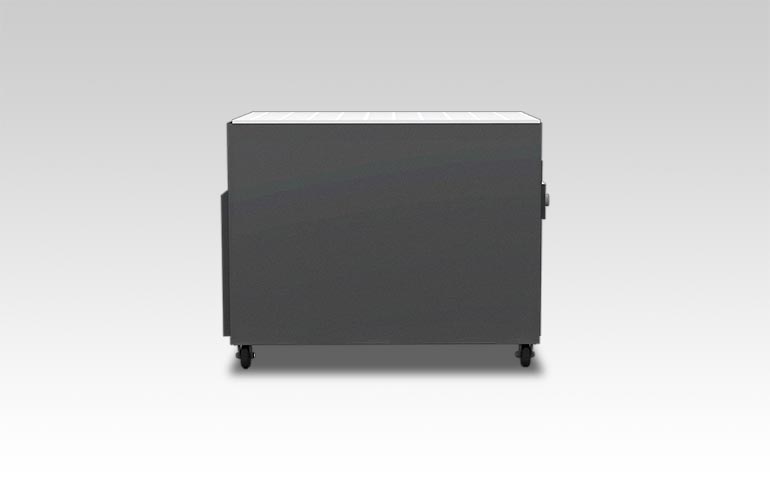
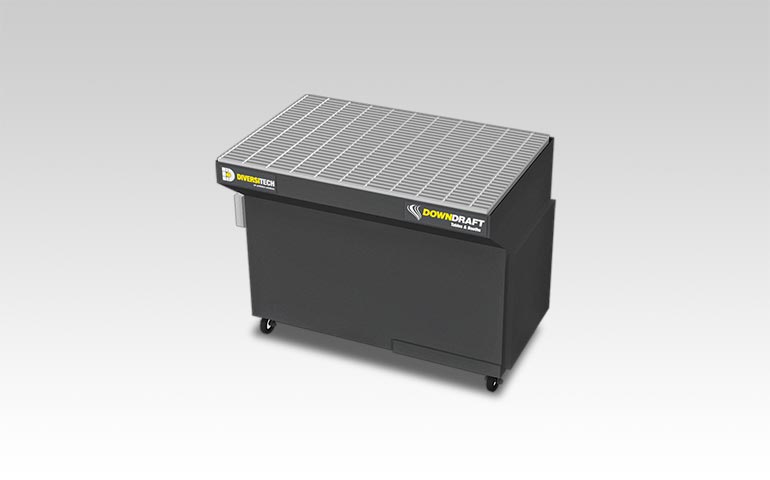
DD 2' X 4' Downdraft Table Help & Support
Learn how to get the most out of your DD 2' X 4' Downdraft Table and troubleshoot common problems.
See our help topics and support videos below, and download the DD 2' X 4' Downdraft Table product guide and owner's manual.
How to..
Before You Begin
Designate a location near the operator where the unit will be placed that is sufficiently close to a grounded power source.
Unpacking Unit
- Inspect carton for any possible damage during transit.
- Remove packing material.
- Do not tip or invert while handling.
- You’ll find the item serial number, model and electrical ratings located on the nameplate. Write down this information on the provided Maintenance Record found in your owner’s manual or your own designated preventative maintenance system.
Installation
- The Electrical Connection for Units That Require a 3-phase (230/460/575V) Direct Connection:
- For wiring instructions, please refer to APPENDIX 1: Electrical Diagram found in your owner’s manual.
- A certified electrician is required to install the electrical connection according to local regulations.
- All three power leads must be connected to L1, L2 and L3 on the contactor.
- Ensure unit is grounded for safe operation.
- If, after starting the unit, you find that the downdraft table fails to perform well or makes excessive noise, the motor is likely running in the reverse direction. Reverse lead L1 and L3 to correct motor rotation.
- The correct direction of the blower wheel rotation is clockwise.
- For Downdraft Tables That Require Compressed Air
- Supply 80-90 PSI of clean, dry compressed air to the bulkhead located on the side of the unit.
- The downdraft table’s air tank only allows for a maximum of 90 PSI. Do not supply air pressure greater than 90 PSI without a properly installed pressure regulator.
- Inspect to see if there is moisture in airline as it can damage the filters. Use an air dryer if necessary.
- Side and Back Walls Installation
- Prepare Hardware
- Find the bolt holes located on the side and back of the cabinet.
- Loosely attach bolts, lock washers and washers, leaving sufficient space to fit wall between the cabinet and washers.
- Attach Walls
- Put in place one back wall and one side wall. Make sure that the flange faces outwards between the cabinet and the washers.
- Rest the wall edge on the bolts, checking for alignment of bolt holes.
- Fasten Hardware
- Fasten bolt, lock washer, washer and net on the vertical edge- attaching one side wall to one back wall.
- Repeat the process to secure all walls.
- Confirm all hardware is tight, securing side and back walls to the cabinet.
- Prepare Hardware
Before you use your unit, you’ll want to perform a function test to verify it’s in working order. Do the following:
- Turn the power switch to On.
- Look to confirm that the unit is level and stable. You’ll also want to verify that nothing is obstructing the extraction path.
- Listen closely to the motor and suction sound of unit. Are they within the expected noise limits? Is it louder or softer than expected?
- By placing your hand on top of the unit, feel for any unexpected vibration. Place your hand in front of the intake surface to confirm the expected levels of suction.
Your Downdraft Table comes equipped with a reverse pulse cleaning system that extends the life expectancy of your filter. The usable filter life will vary according to the application used, the particle size, density, humidity and oil. Generally, however, you can expect to change your filters every 6-18 months, if unit is pulsed on a regular basis.
Visual inspection of the filter is required as part of routine maintenance. Replace the filter if you find:
- Accumulation or overloading of particles
- Rips, tears or warping of material
- You find that the table is not working properly due to excessive static build-up
If any of the above conditions apply, follow the below 8-step procedure to replace your filter:
- Open cabinet door.
- Unhook the barrel bolt latch that keeps your filter in place.
- Slide used filter cartridge(s) out.
- Inspect the cabinet interior for debris.
- Open dust drawer and remove any material before replacing back into position.
- Insert clean replacement filter(s).
- Hook barrel bolt latch to keep filter(s) in place.
- Close cabinet door.
Troubleshooting
- Confirm that the correct voltage and 3 phase power is properly supplied into the panel.
- Check fuses to see if they are functional.
- If your Downdraft Table does not turn on, it is possible that the unit is in reverse phasing. An electrician is required to reposition phase lines.
- Confirm the correct rotation using the indication arrow located on the motor. If the unit fails to turn on, the unit’s motor could be in reverse rotation and spinning incorrectly. An electrician is required to address the problem.
- Confirm correct voltage. Make sure that the transformer (Primary and Secondary) has been plugged into the correct voltage.
- Confirm that the unit is being supplied adequate compressed air (90 max psi).
- If the problem continues, contact Diversitech support for assistance.
- Confirm 120v for the secondary transformer. Make sure that the transformer (Primary and Secondary) has been plugged into 120v power outlet.
- Inspect the on\off switch to ensure connection.
- If the problem continues, contact Diversitech support for assistance.


